Static Blog Setup with Hexo, Amazon S3 and Grunt - Initial setup
This is Part-1 in the series of posts on “Static Blog Setup with Hexo, Amazon S3 and Grunt“. You can view all the posts in this series here, Static Blog Setup with Hexo, Amazon S3 and Grunt.
As mentioned in my first post, here I will describe how I setup this blog with Hexo, a blogging framework powered by Node.js, using Amazon S3 for hosting and finally, using Grunt to automate the deployment and other tasks.
Let’s get started!
Installing Hexo
Before you start installing, I suggest reading the documentation on Hexo’s site which provides detailed instructions for installing Hexo.
First, you need to install Node.js, which is pre-requisite for Hexo. Optionally, I would recommend installing Git for tracking your project changes and signing-up at Github. You can view all my blog files at Chitrang’s Git Repo.
Once Node.js is installed, go ahead and install Hexo:
npm install hexo -g
npm means Node Packaged Modules, which is the package manager for Node.js, similar to what Rubygems is for Ruby and Nuget for .NET framework.
Hexo folder structure
Create a folder called blog or myblogname.com on your desktop or projects folder.
Once Hexo is installed, you can create the folder structure for your blog:
hexo init <folder>
where folder is your blog folder which you created above. This will create the basic structure of your blog something similar as shown below:
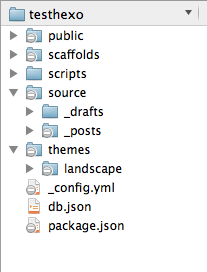
Blog themes are located in themes folder, posts go under __posts_ folder which is located under source and the generated files are created in a public folder which becomes the main site folder once you generate your blog as shown in the following steps. Simple and Straightforward!
Preview the blog
Awesome!!! Now you have everything setup, let’s preview the default blog theme that comes pre-installed and view it in the browser. First let’s generate all the files needed for the blog:
hexo generate
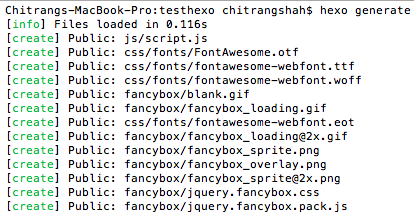
This will create the public folder as mentioned above. To preview the blog:
hexo server
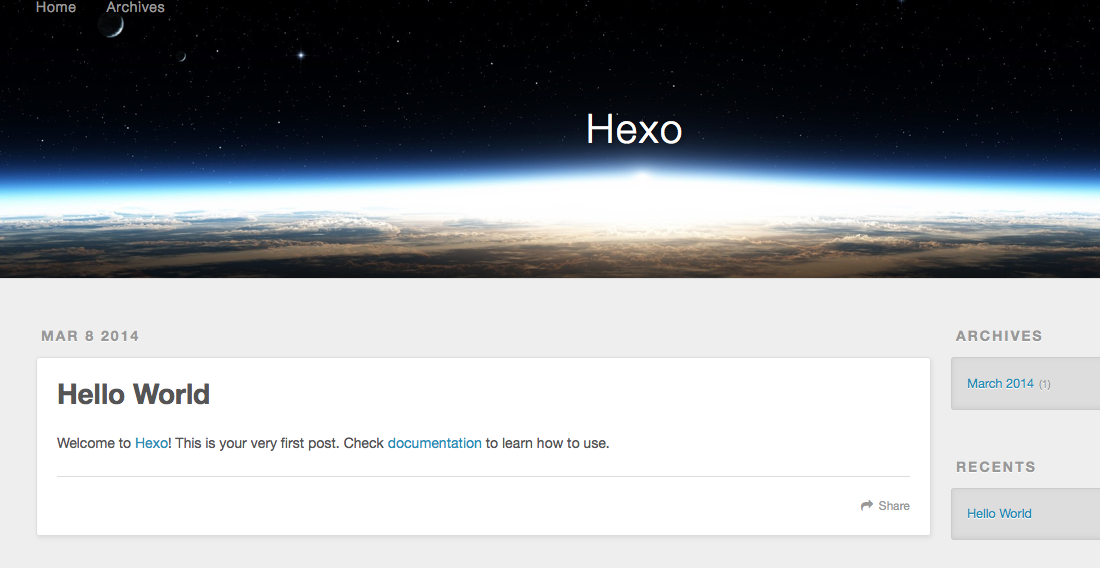
Go to http://localhost:4000 in your browser and you will be nicely greeted with a “Hello World, Welcome to Hexo” post.
There you have it! You have just finished the initial setup of your blog. You can read more about setting up, writing posts and configuring Hexo here. If you face any issues, do not hesitate to leave a comment or Contact Me. :)
In the next post, I will cover how I setup hosting of my blog on Amazon S3.